GSAP Animation with Vue 3 and Vite
14th Apr 2022 • 10 min read — by Aleksandar Trpkovski
GreenSock Animation Platform (GSAP) is the most robust JavaScript animation library to date that allows developers to animate literally any DOM element with a breeze. GSAP provides an API that can be used for complex animation to be created. Hence, is still supported by all major browsers. In comparison to CSS animation, sequencing in GSAP is very easy. So let's have a look at GSAP. We are going to use GSAP in a Vue 3 project. We will use Vite as a build tool.
Note: You need to have Node.js installed on your machine before following the example below. Please refer to the Node.js website for more information on how you can install Node.js on your machine.
Create a Vue 3 app using Vite
We can easily scaffolding our Vue 3 project using Vite with the following command:
npm init vite@latest my-vue-app
We next follow the prompts and choose Vue with JavaScript. Lastly, install the dependency and run the project locally:
cd my-vue-app

npm install
npm run dev
Install GSAP
Install GSAP before using GSAP in your project. We can install GSAP with the following command:
npm install gsap
Next, import it to our Vue app. We can do that by simply importing the library in the App.vue file.
import gsap from "gsap";
That's it! We can now use GSAP in our Vue app.
Getting Started with GSAP in Vue
In this blog article, we are going to animate DOM elements. GSAP is also capable of animating SVG, Canvas, WebGL, JS object etc. The full documentation of GSAP can be found at this link.
Let's start by animating a DOM element from one state to another. We can do that with the to method in GSAP. For example that would be:
gsap.to(".box", { x: 300, duration: 2 });
The first parameter is a target object. The target can be Selector text, Variable, Object or even an Array. We can technically pass a CSS class or an ID as a string and GSAP can magically find that DOM element. But since we use Vue, it is best practice to use template refs for that purpose. For more about how template refs in Vue work please refer to this link.
The second parameter is configuring objects with destination properties that we want to animate along with some special properties such as duration or delay.
Let's see an example inside our Vue 3 project. In the App.vue file we are going place the following code:
<script setup>
import { ref, onMounted } from "vue";
import gsap from "gsap";

const logo = ref(null);

onMounted(() => {
    gsap.to(logo.value, { x: 300, duration: 2 });
});
</script>

<template>
    <img ref="logo" src="./assets/logo.png" alt="Logo" />
</template>
If we run our application, we will observe the logo moving to the right by 300px for a duration of 2 seconds. See the animation below:
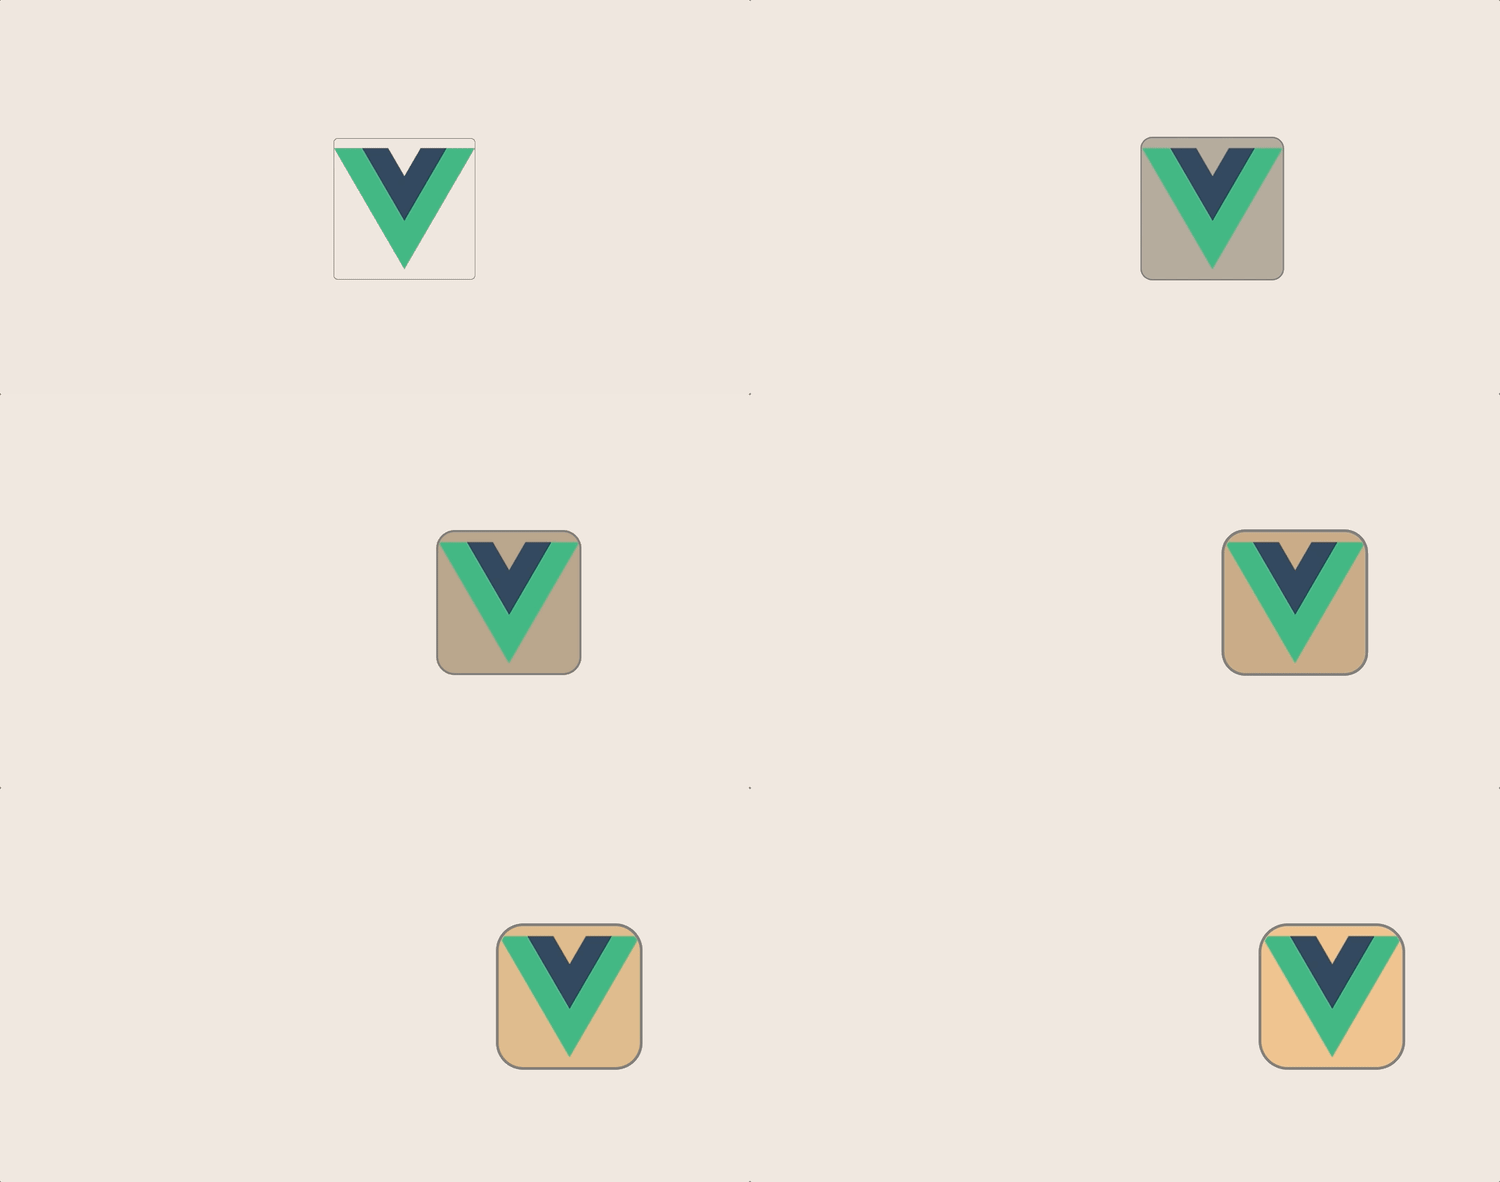
Now let's animate more properties. For example, we can animate a background-color. Since GSAP is a JavaScript library, we have to use camelcase syntax instead of the dash so that thebackground-color will become backgroundColor. We can also animate the borderRadius and the border properties:
onMounted(() => {
    gsap.to(logo.value, {
        x: 300,
        backgroundColor: "#f0c690",
        borderRadius: "20%",
        border: "5px solid grey",
        duration: 2,
    });
});
If we run our app, we should now observe GSAP animating all values at the same time. Refer to the animation below:
As we mentioned earlier, configuration objects have special properties such as duration or delay. Another useful special property is the easeproperty. In GSAP there are many built-in easing options to choose from such as: back, elastic, bounce etc.
For a full list of easing options in GSAP please refer to the documentation here. GSAP also has a handy Visualiser to explore all the easing options available.
Here is the code to apply easing to our animation:
gsap.to(logo.value, {
    x: 300,
    backgroundColor: "#f0c690",
    borderRadius: "20%",
    border: "5px solid grey",
    duration: 2,
    ease: "elastic",
});
GSAP also has a few handy callback functions: onStart, onUpdate, onComplete etc. For example, if we want to listen in on style updates we can use onUpdate and then pass a callback function. Please see the example below:
onMounted(() => {
    gsap.to(logo.value, {
        x: 300,
        backgroundColor: "#f0c690",
        borderRadius: "20%",
        border: "5px solid grey",
        duration: 2,
        ease: "bounce",
        onUpdate: getBorderRadious,
    });
});

function getBorderRadious() {
    console.log(logo.value.style.borderRadius);
}
We output every change of the borderRadius property in the console:
...
...
...
8.7483%
9.3777%
10.0288%
10.6617%
11.3552%
...
...
...
We have just shown how to animate to a certain state or value in the example above. What if we would now like to animate from those values? It will be as simple as changing gsap.to to gsap.from .
stagger special property
We can animate all elements with the same selector at once. Let's view the example below:
gsap.from(".circle", {
    y: 300,
    opacity: 0,
    duration: 2,
});
If we run our app, we observe that all elements with a class of .circle will be animated at the same time. By animating all elements together, the dynamism of the animation is lost. To counter this, GSAP has a special property called stagger that allows us to animate elements with an offset time. We only need to pass an offset time value to the stagger for example 0.25. In this case, the elements will be animated within offset of a quarter of a second from the previous one.
gsap.from(".circle", {
    y: 300,
    opacity: 0,
    duration: 2,
    stagger: 0.15,
});
GSAP also provides built-in functionalities for the generation of random values. This is very handy if we want random y values to be animated every time we run it. We can do that by passing "random(-200, 200)" where the range of the random value generated is set between -200 to 200.
import { onMounted } from "vue";
import gsap from "gsap";

onMounted(() => {
    gsap.from(".circle", {
        y: "random(-200, 200)",
        opacity: 0,
        duration: 1,
        stagger: 0.15,
        delay: 2,
    });
});
</script>

<template>
    <div class="circle"></div>
    <div class="circle"></div>
    <div class="circle"></div>
    <div class="circle"></div>
    <div class="circle"></div>
    <div class="circle"></div>
</template>
Let's have a look at how the animation would now look like:
For more utility functions like the one above, please check out the GSAP full documentation in the following link.
delay special property
By default both of the logo and the circles will start animating at the same time. If we want the circles to animate after the logo is done with animating, we can use GSAP special delay property, by assigning a value of 2 to the duration of the logo animation. The circle animation will now wait for 2 seconds before it starts animating.
gsap.from(logo.value, {
    x: -300,
    backgroundColor: "#f0c690",
    borderRadius: "20%",
    border: "5px solid grey",
    duration: 2,
    ease: "bounce",
    onUpdate: getBorderRadious,
});
gsap.from(".circle", {
    y: "random(-200, 200)",
    opacity: 0,
    duration: 1,
    stagger: 0.15,
    delay: 2,
});
The delay property is handy for simple animations. But for complex animations, GSAP has the timeline feature that allows for that.
GSAP Timeline
The timeline feature in GSAP allows us to build complex animations simpler. Let's create our first timeline.
let tl = gsap.timeline();
We don't need to use the delay property for each animation. Instead, we can use timelines. By default, Timeslines adds animations at the end of timeline so we get perfect sequencing right from the box.
let tl = gsap.timeline();
tl.from(logo.value, {
    x: -300,
    backgroundColor: "#f0c690",
    borderRadius: "20%",
    border: "5px solid grey",
    duration: 2,
    ease: "bounce",
});
tl.from(".circle", {
    y: "random(-200, 200)",
    opacity: 0,
    duration: 1,
    stagger: 0.15,
});
If we want to control precisely the position of the animation in the timeline we can use the position parameter. This parameter comes after the configuration object, and tells the timeline where to place the animation. In our example, we are going to pass "+=1" value. This means that the animation will start 1 second past the end of the timeline. Hence, creates a gap.
import { ref, onMounted } from "vue";
import gsap from "gsap";

const logo = ref(null);
let tl = null;

onMounted(() => {
    tl = gsap.timeline();
    tl.from(logo.value, {
        x: -300,
        backgroundColor: "#f0c690",
        borderRadius: "20%",
        border: "5px solid grey",
        duration: 2,
        ease: "bounce",
    });
    tl.from(
        ".circle",
        {
            y: "random(-200, 200)",
            opacity: 0,
            duration: 1,
            stagger: 0.15,
        },
        "+=1"
    );
});
</script>

<template>
    <img ref="logo" src="./assets/logo.png" alt="Logo" />
    <div class="circle circle--blue"></div>
    <div class="circle circle--red"></div>
    <div class="circle circle--yellow"></div>
    <div class="circle circle--green"></div>
    <div class="circle circle--purple"></div>
    <div class="circle circle--pink"></div>
</template>
We can also use -=1. In this case, the animation will start 1 second before the end of the timeline. Hence, creates overlaps. The full documentation of the timeline position parameters can be found at this link.
Controls in timeline
If we want a timeline repeated, we can do so by specifying a repeat property in the configuration object in the timeline.
let tl = gsap.timeline({ repeat: 2 });
By assigning a repeat value of 2, our timeline will play once regularly for the first time, and then repeat two more times. If we want to repeat infinitely, then we use a value of -1.
Another property that is very useful with repeats, is called yoyo. If we set yoyo to true then our timeline will play regularly the first time, but go backwards on the second time. The timeline will repeat infinitely by going forward and backwards.
let tl = gsap.timeline({ repeat: 2, yoyo: true });
We can further control our animation in timelines by adding one of few methods available such as:
tl.play();
tl.pause();
tl.resume();
tl.seek(1.5);
tl.reverse();
tl.restart();
If you are curious to see all the above methods in action please view my app on Github here. I have developed a small Vue 3 app with GSAP timeline animation where all the above methods are demonstrated. I hope you will find it useful.
Conclusion
- GreenSock Animation Platform (GSAP) is the most robust JavaScript animation library to date that allows developers to animate literaly any DOM element with a breeze.
- We can add a CSS class or an ID as a string, and GSAP can magically find that DOM element. Since we are using Vue, it is best practice to use template
refsfor that purpose. - The configuration object in GSAP has some special properties such as
duration,delay, ease,stagger,delaythat can be used to add or enhance an animation. - GSAP also has a few handy callback functions:
onStart,onUpdate,onCompleteetc. that can be used to define custom functionalities. - The timeline feature in GSAP allows us to easily build complex animations.
Further Reading
Explore more articles that might interest you.


